This guide shows the fastest way to create a receipt using the Receipt Maker builder.
You can build your first receipt in a few minutes.
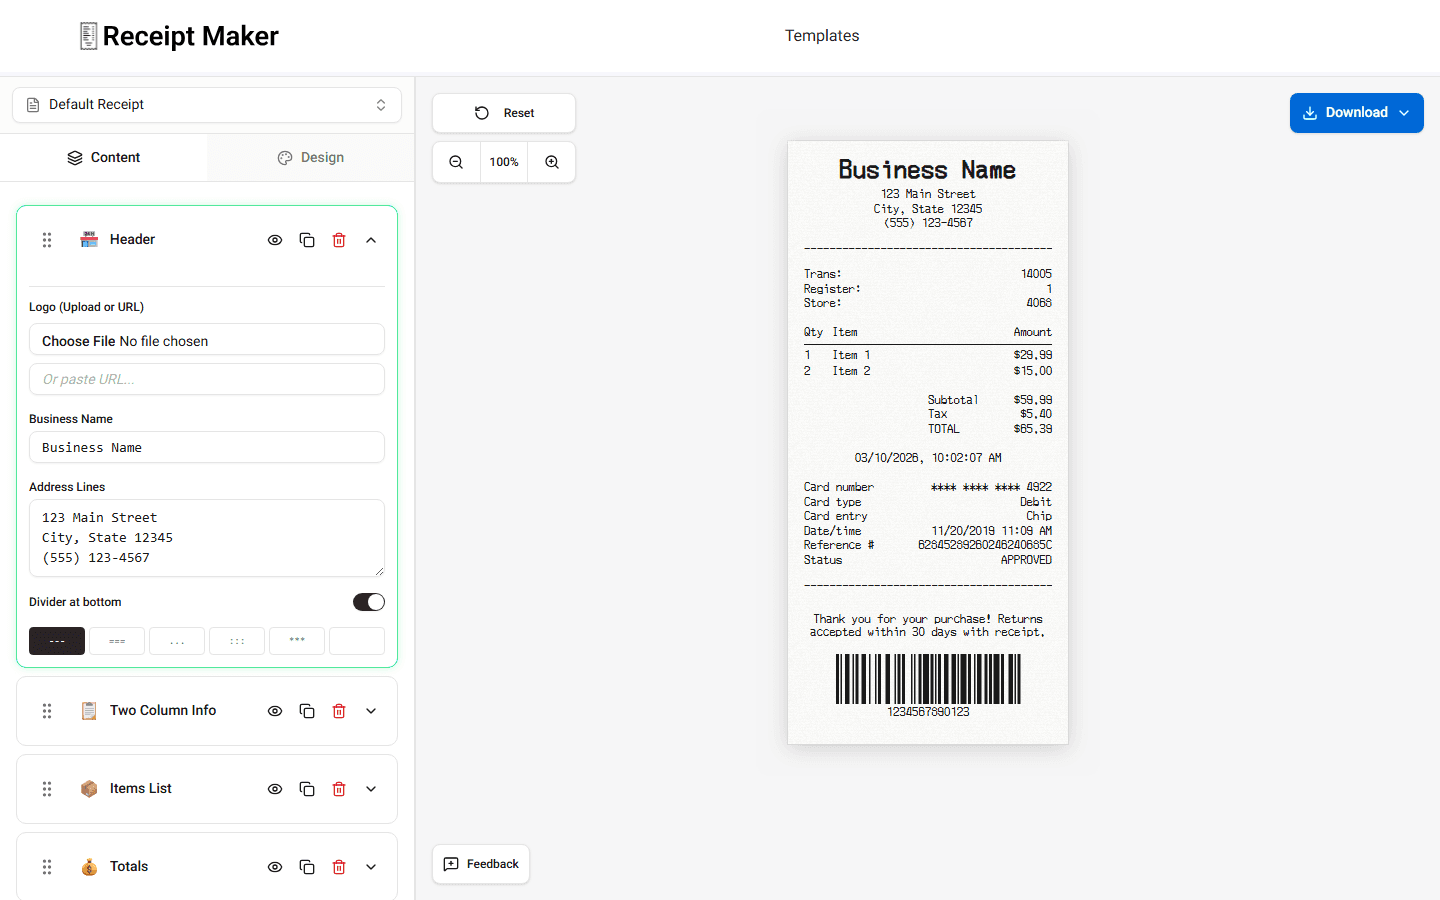
Step 1 - Open the Builder
Open the Receipt Maker builder in your browser.
The tool loads immediately. You do not need an account.
Step 2 - Choose a Template
At the top of the builder you can select a receipt template.
Templates control the layout of the receipt.
You can switch templates later if needed.
Step 3 - Enter Store Information
Open the Header section.
Enter the store information.
Examples include:
- business name
- store address
- phone number
These values appear at the top of the receipt.
Step 4 - Add Purchased Items
Scroll to the Items List section.
Add the products or services included in the purchase.
For each item enter:
- item name
- quantity
- price
The builder updates the item totals automatically.
Step 5 - Review Totals
Open the Totals section.
Check the financial summary.
Verify:
- subtotal
- tax values
- final total
You can adjust these values if needed.
Step 6 - Add Payment Details
Open the Payment section.
Choose the payment method and enter the payment details you want displayed.
Step 7 - Download or Print
When the receipt is complete, click Download.
You can export the receipt or print it.
Summary
Creating a receipt is simple. Choose a template, fill in the fields, review the preview, and export the finished receipt.