Many receipts include a store logo at the top. Receipt Maker allows you to upload a logo and display it in the header.
Adding a logo can make the receipt look more realistic and recognizable.
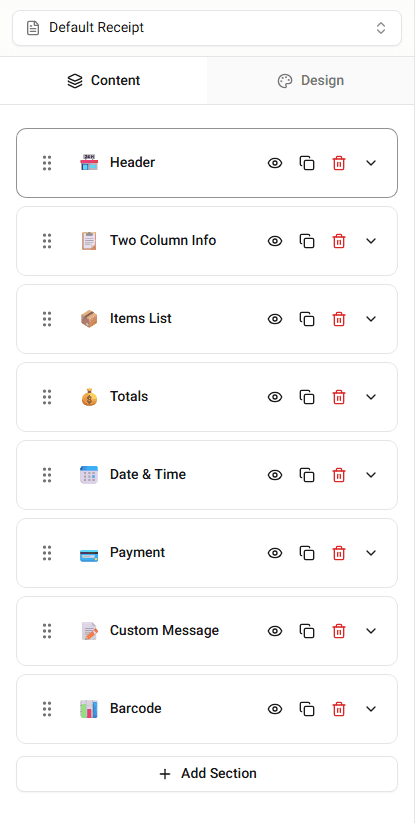
Where the Logo Appears
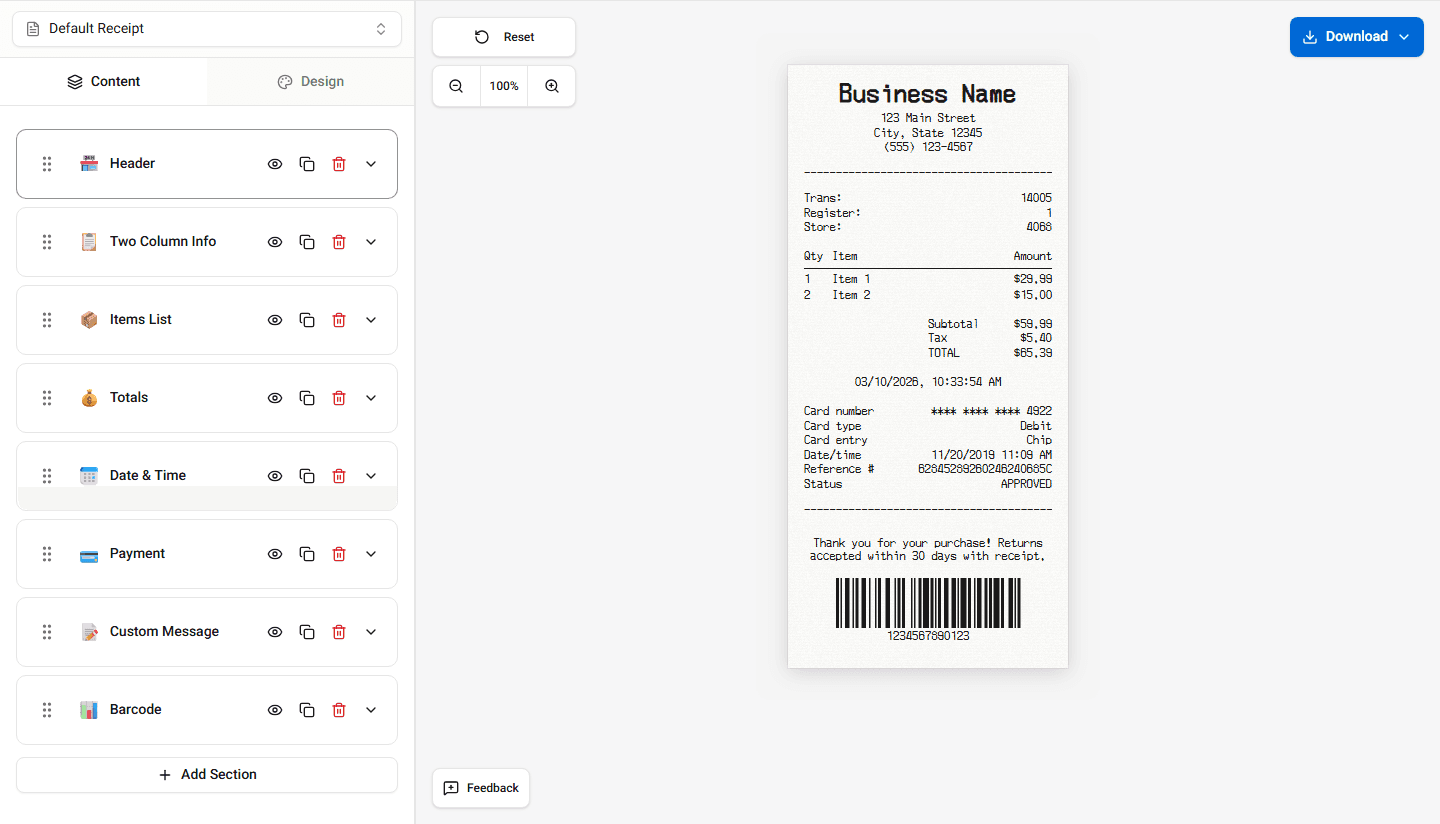
When a logo is uploaded, it usually appears above the store information in the header.
The exact position depends on the template you are using.
Uploading a Logo
To upload a logo:
-
Open the Header section in the builder.
-
Find the Logo Upload option.
-
Select the image file from your device.
Once uploaded, the logo will appear in the receipt preview.
Changing or Removing the Logo
You can replace or remove the logo at any time.
To change it:
- Upload a different image.
To remove it:
- Clear the logo field or remove the image.
The preview will update immediately.
Summary
You can upload a logo in the header section to display it at the top of the receipt. The logo can be changed or removed at any time.